Gitlab 编排 .gitlab-ci.yaml
1. 快速构建.gitlab-ci.yaml
创建一个项目
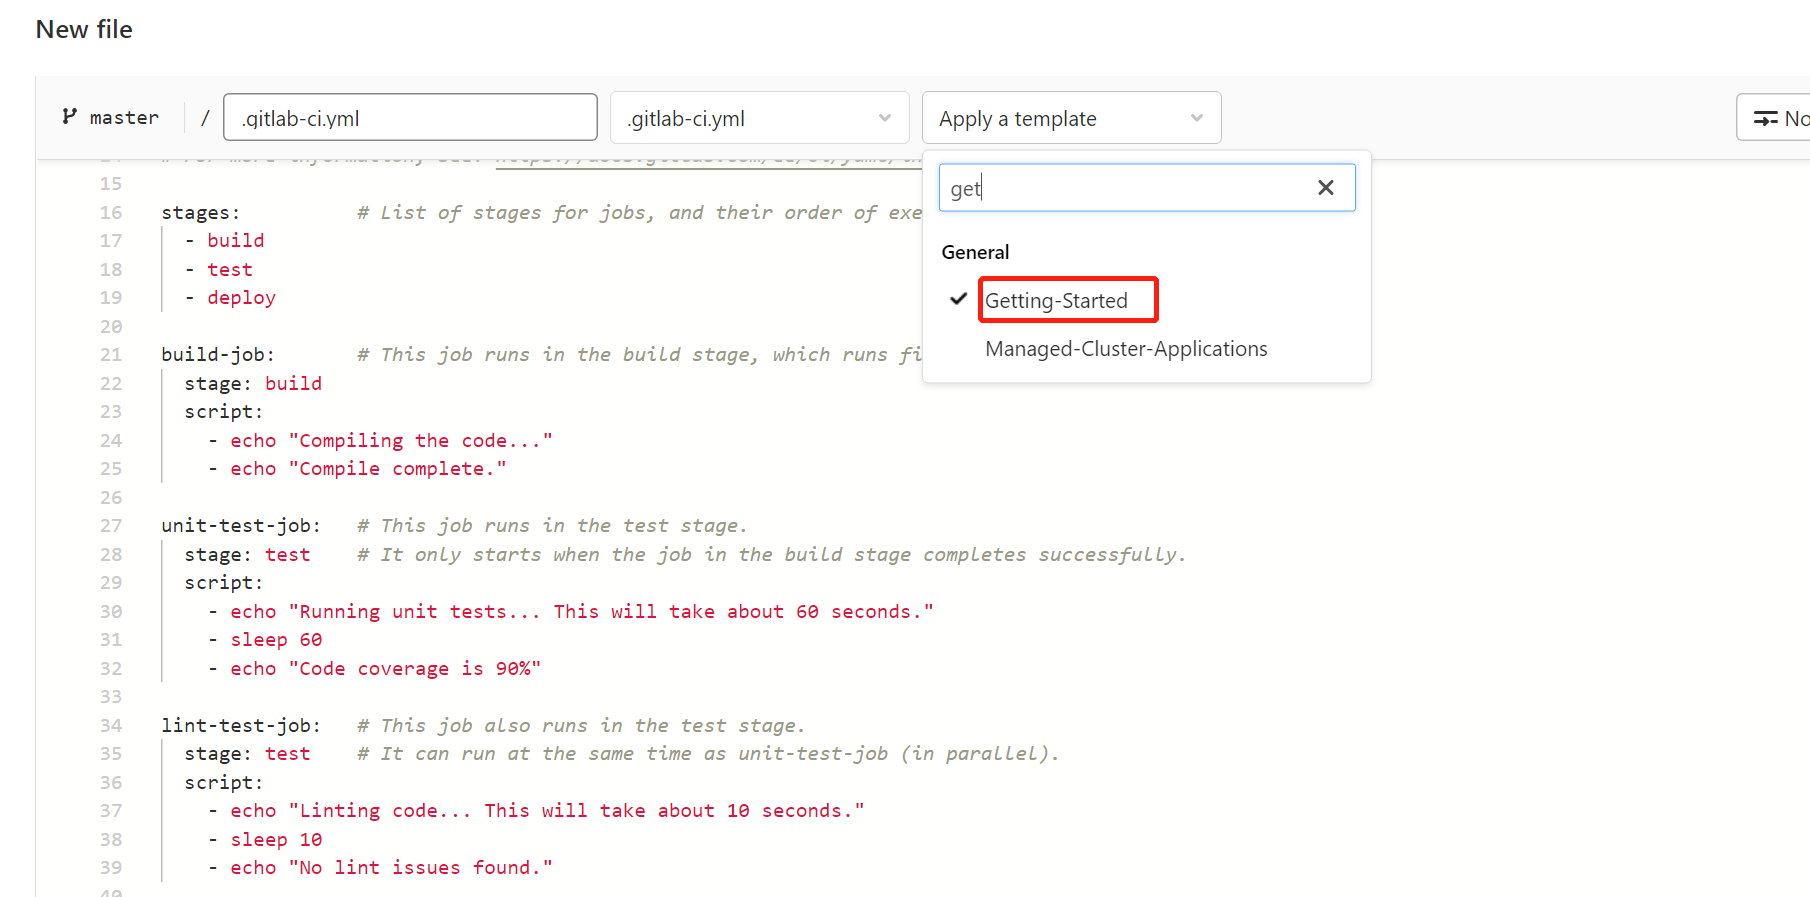
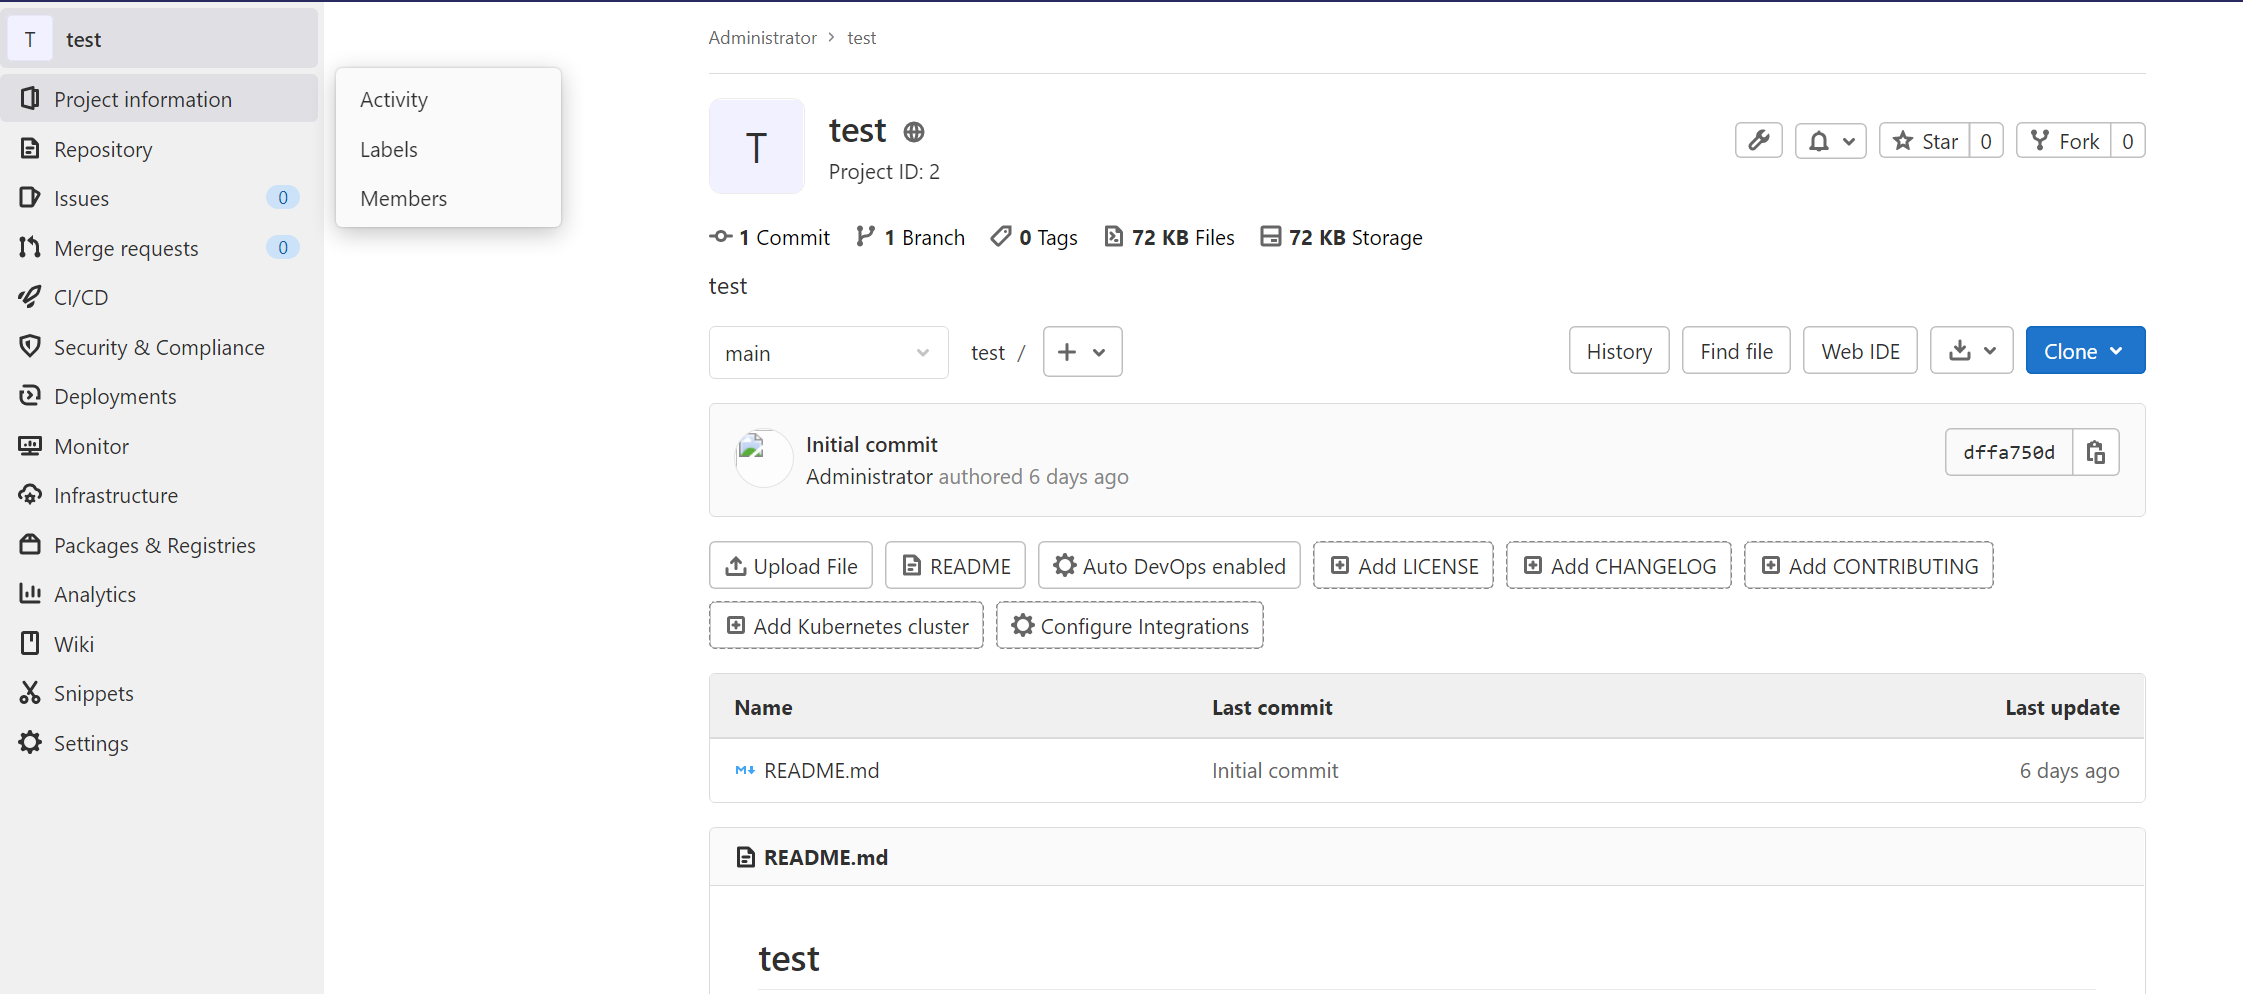 创建一个模板.gitlab-ci.yaml
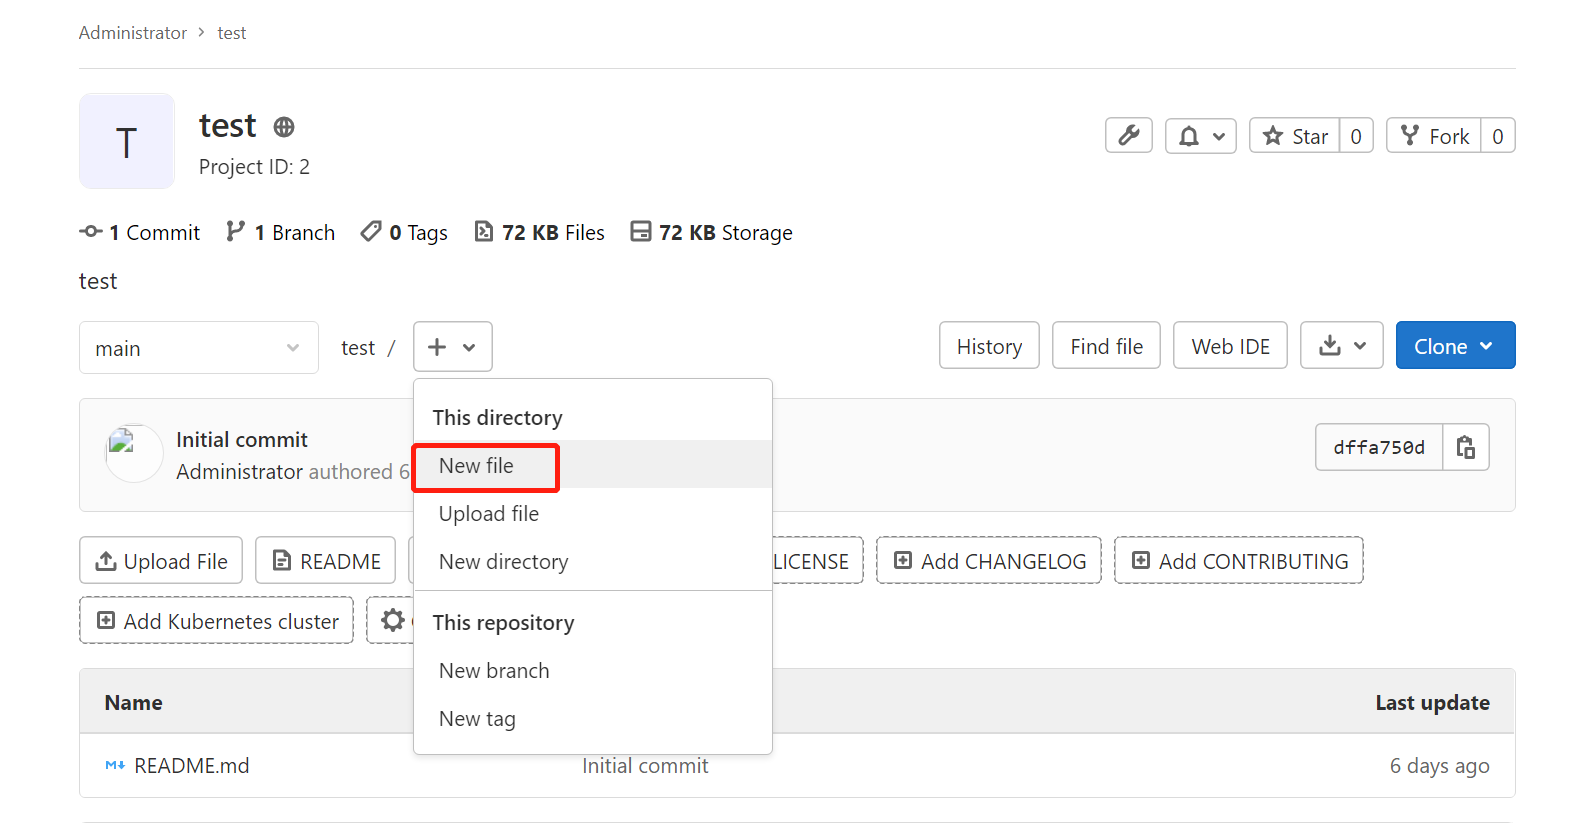
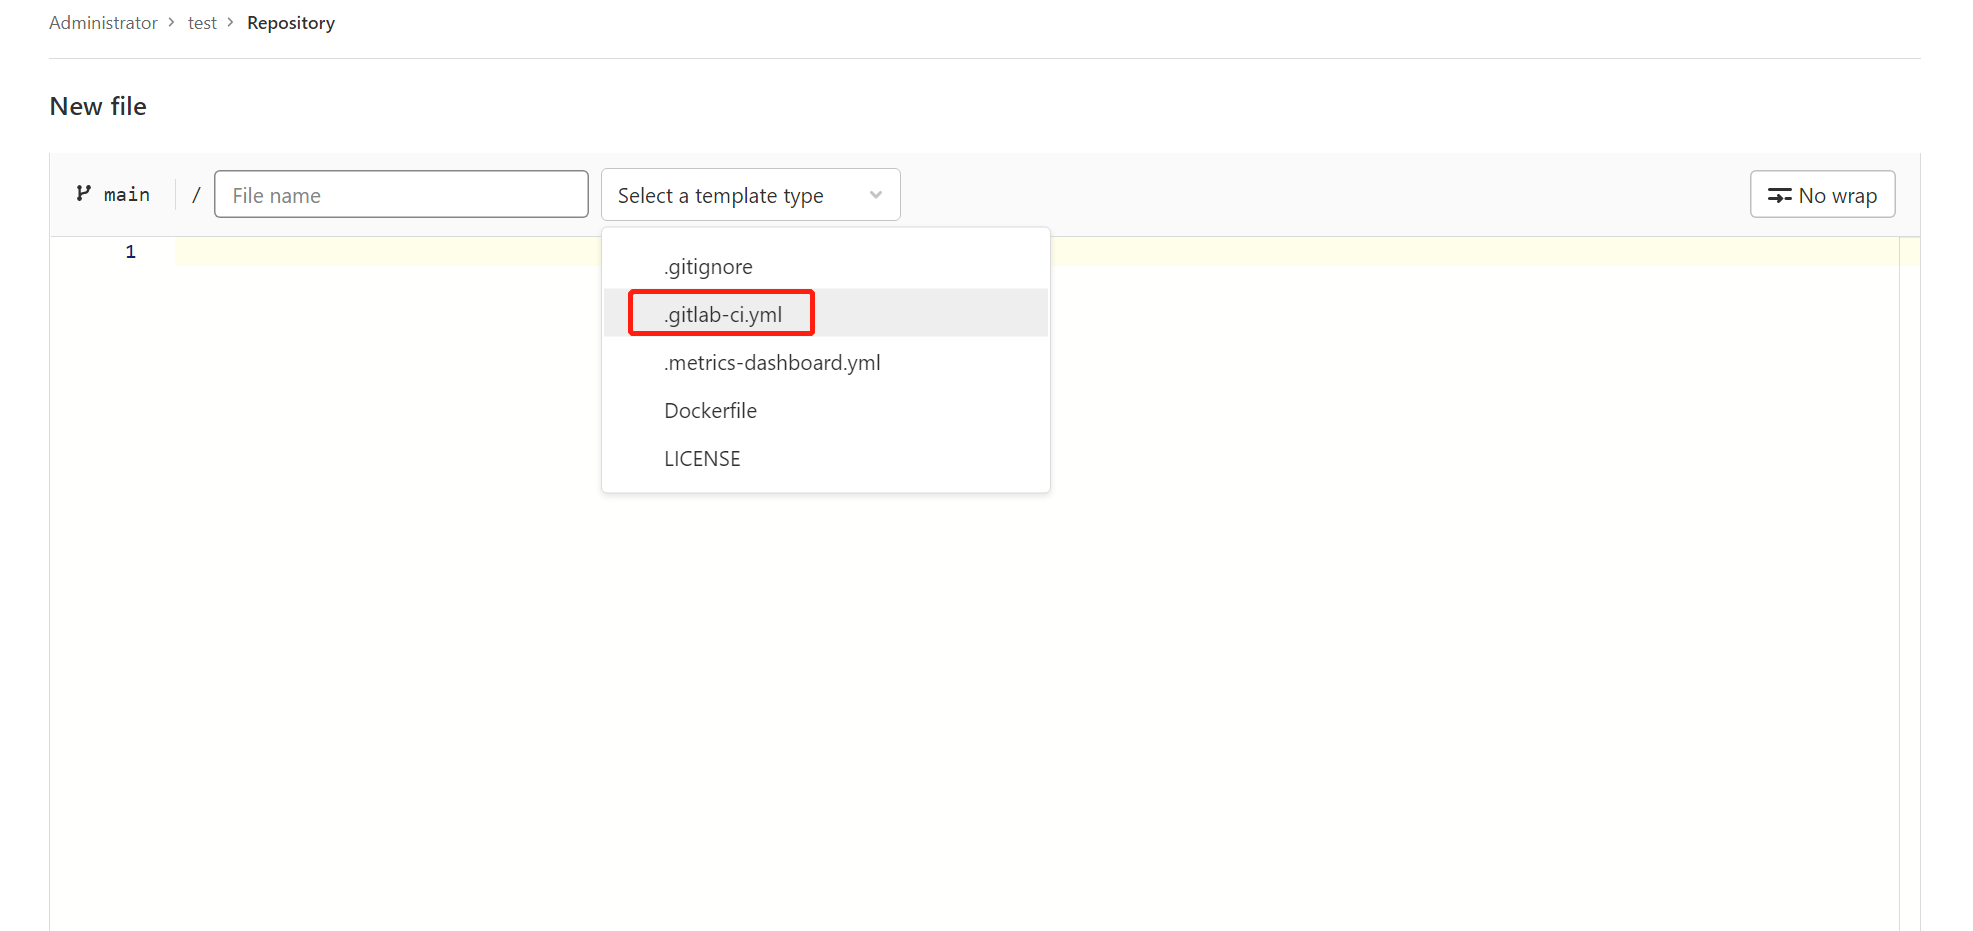 选择Getting-started模板
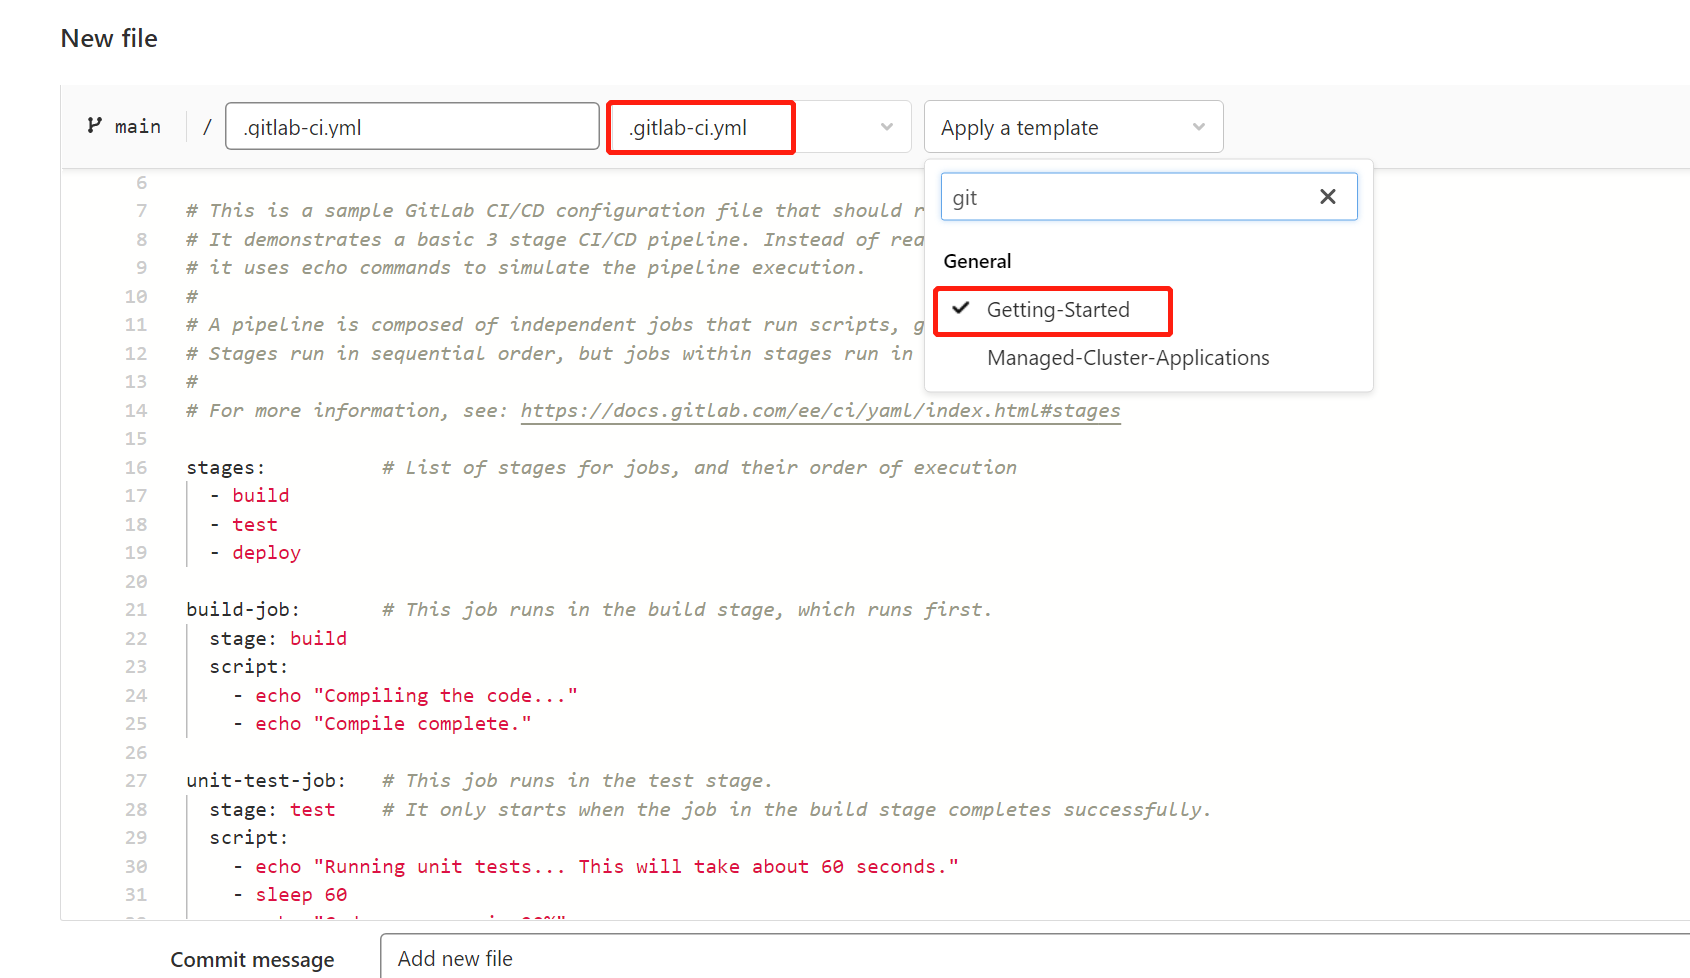
stages:          # List of stages for jobs, and their order of execution
  - build
  - test
  - deploy

build-job:       # This job runs in the build stage, which runs first.
  stage: build
  script:
    - echo "Compiling the code..."
    - echo "Compile complete."

unit-test-job:   # This job runs in the test stage.
  stage: test    # It only starts when the job in the build stage completes successfully.
  script:
    - echo "Running unit tests... This will take about 60 seconds."
    - sleep 60
    - echo "Code coverage is 90%"

lint-test-job:   # This job also runs in the test stage.
  stage: test    # It can run at the same time as unit-test-job (in parallel).
  script:
    - echo "Linting code... This will take about 10 seconds."
    - sleep 10
    - echo "No lint issues found."

deploy-job:      # This job runs in the deploy stage.
  stage: deploy  # It only runs when *both* jobs in the test stage complete successfully.
  script:
    - echo "Deploying application..."
    - echo "Application successfully deployed."
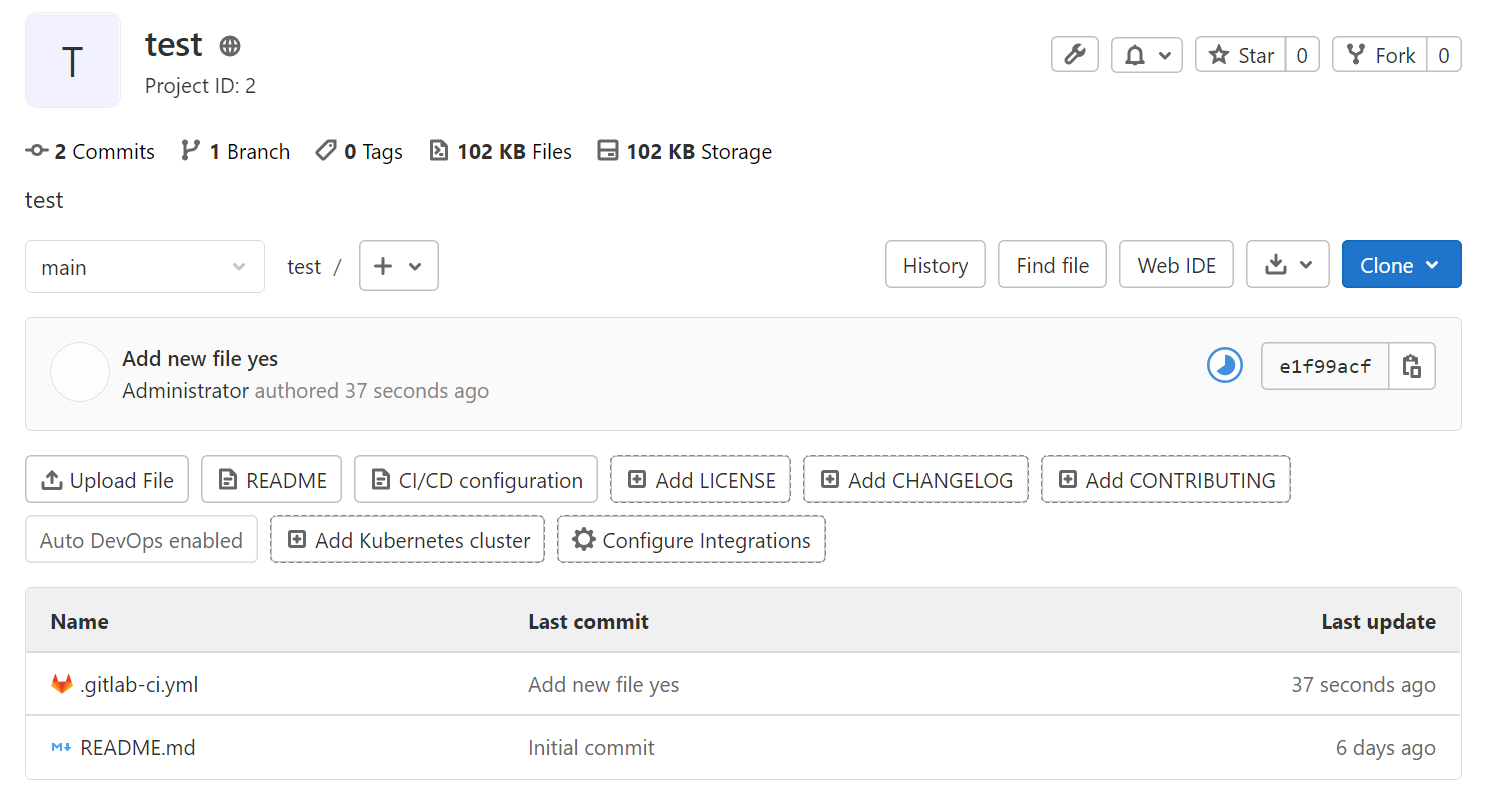

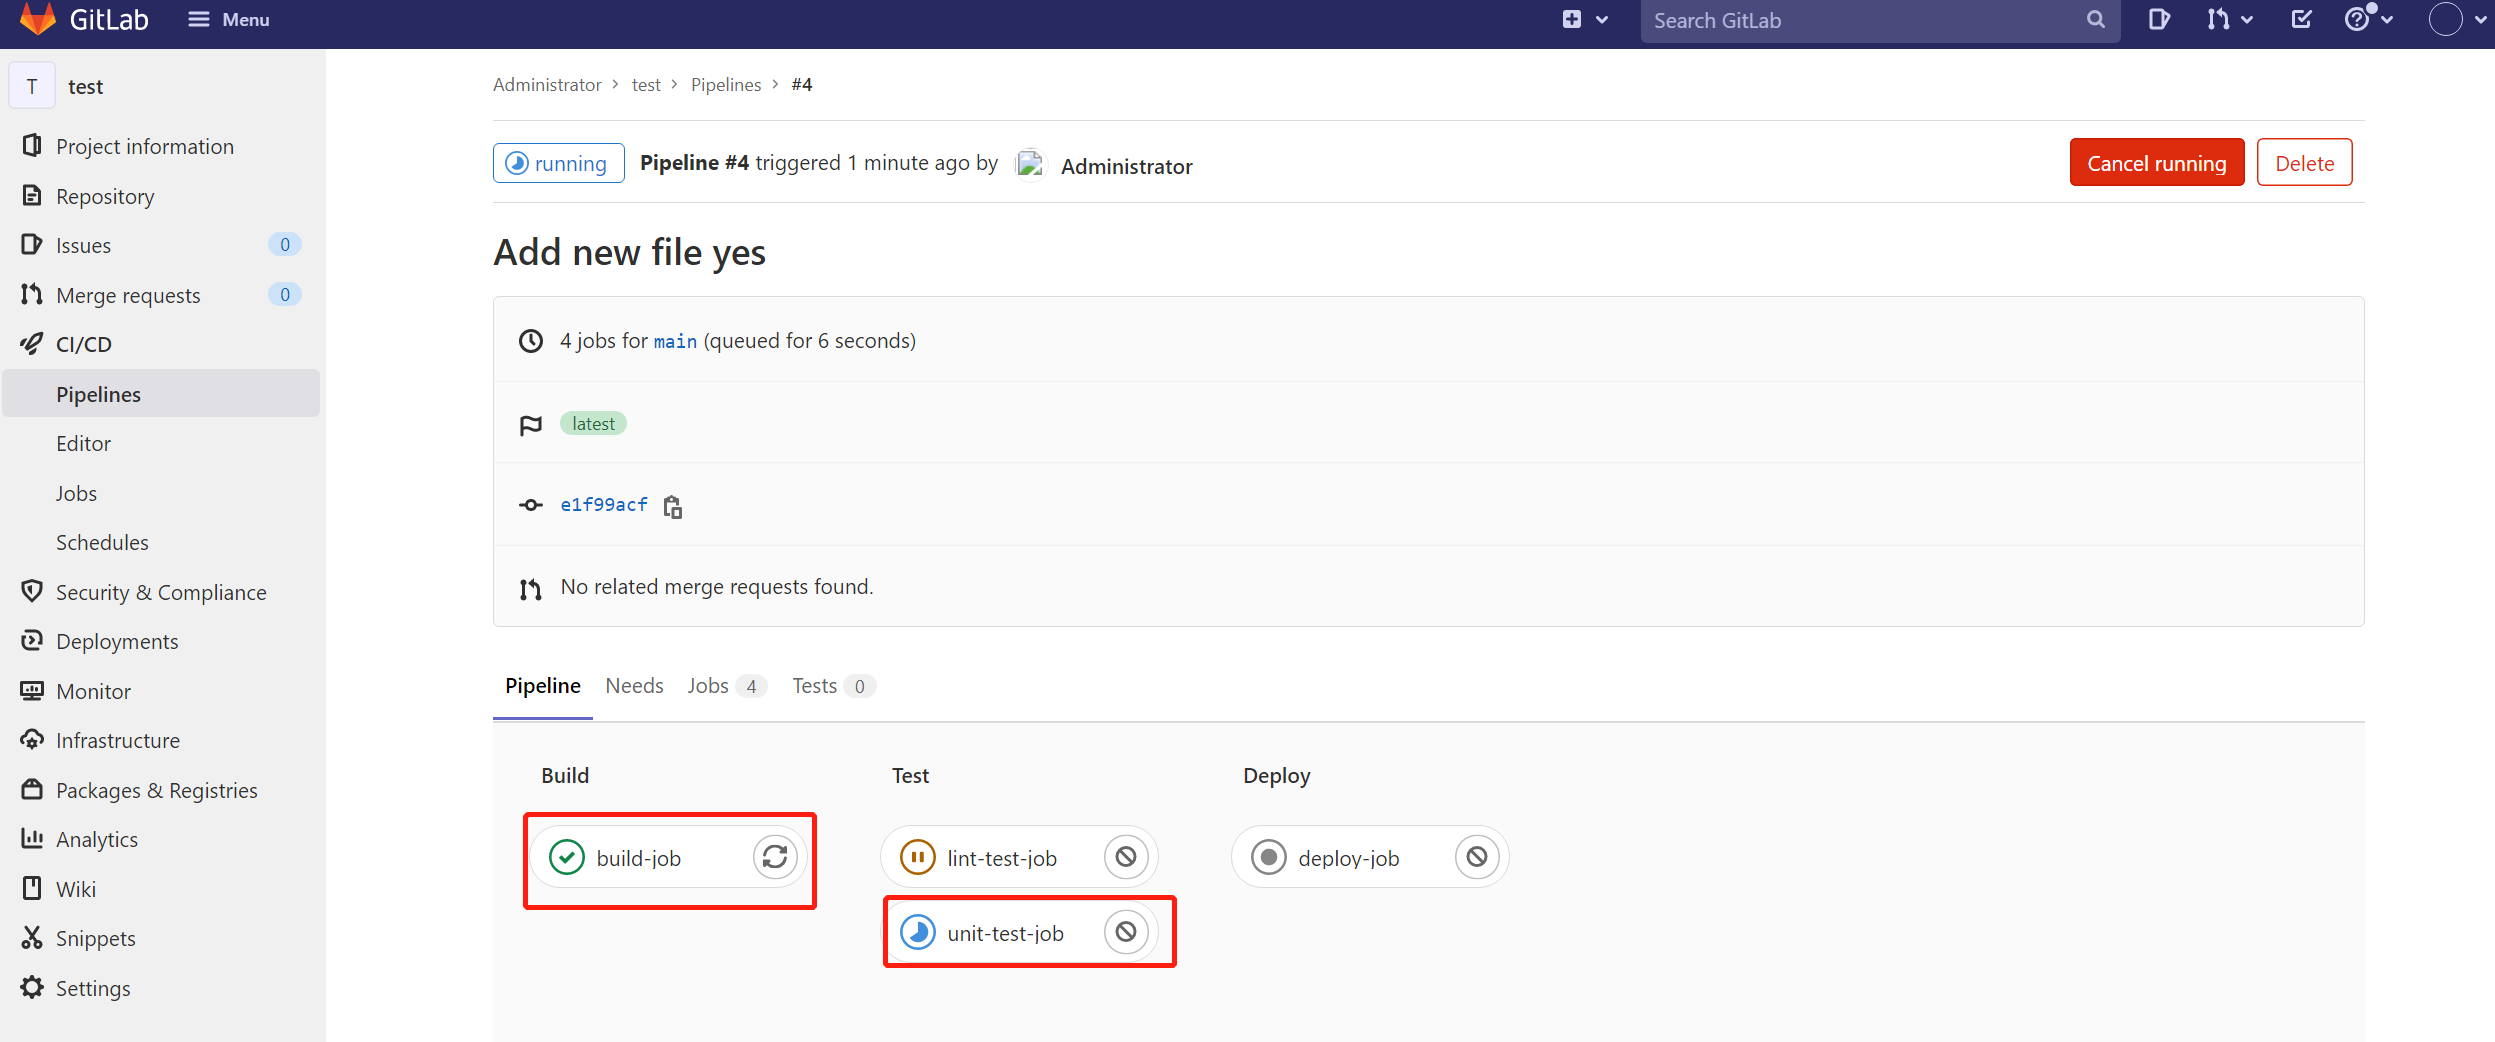
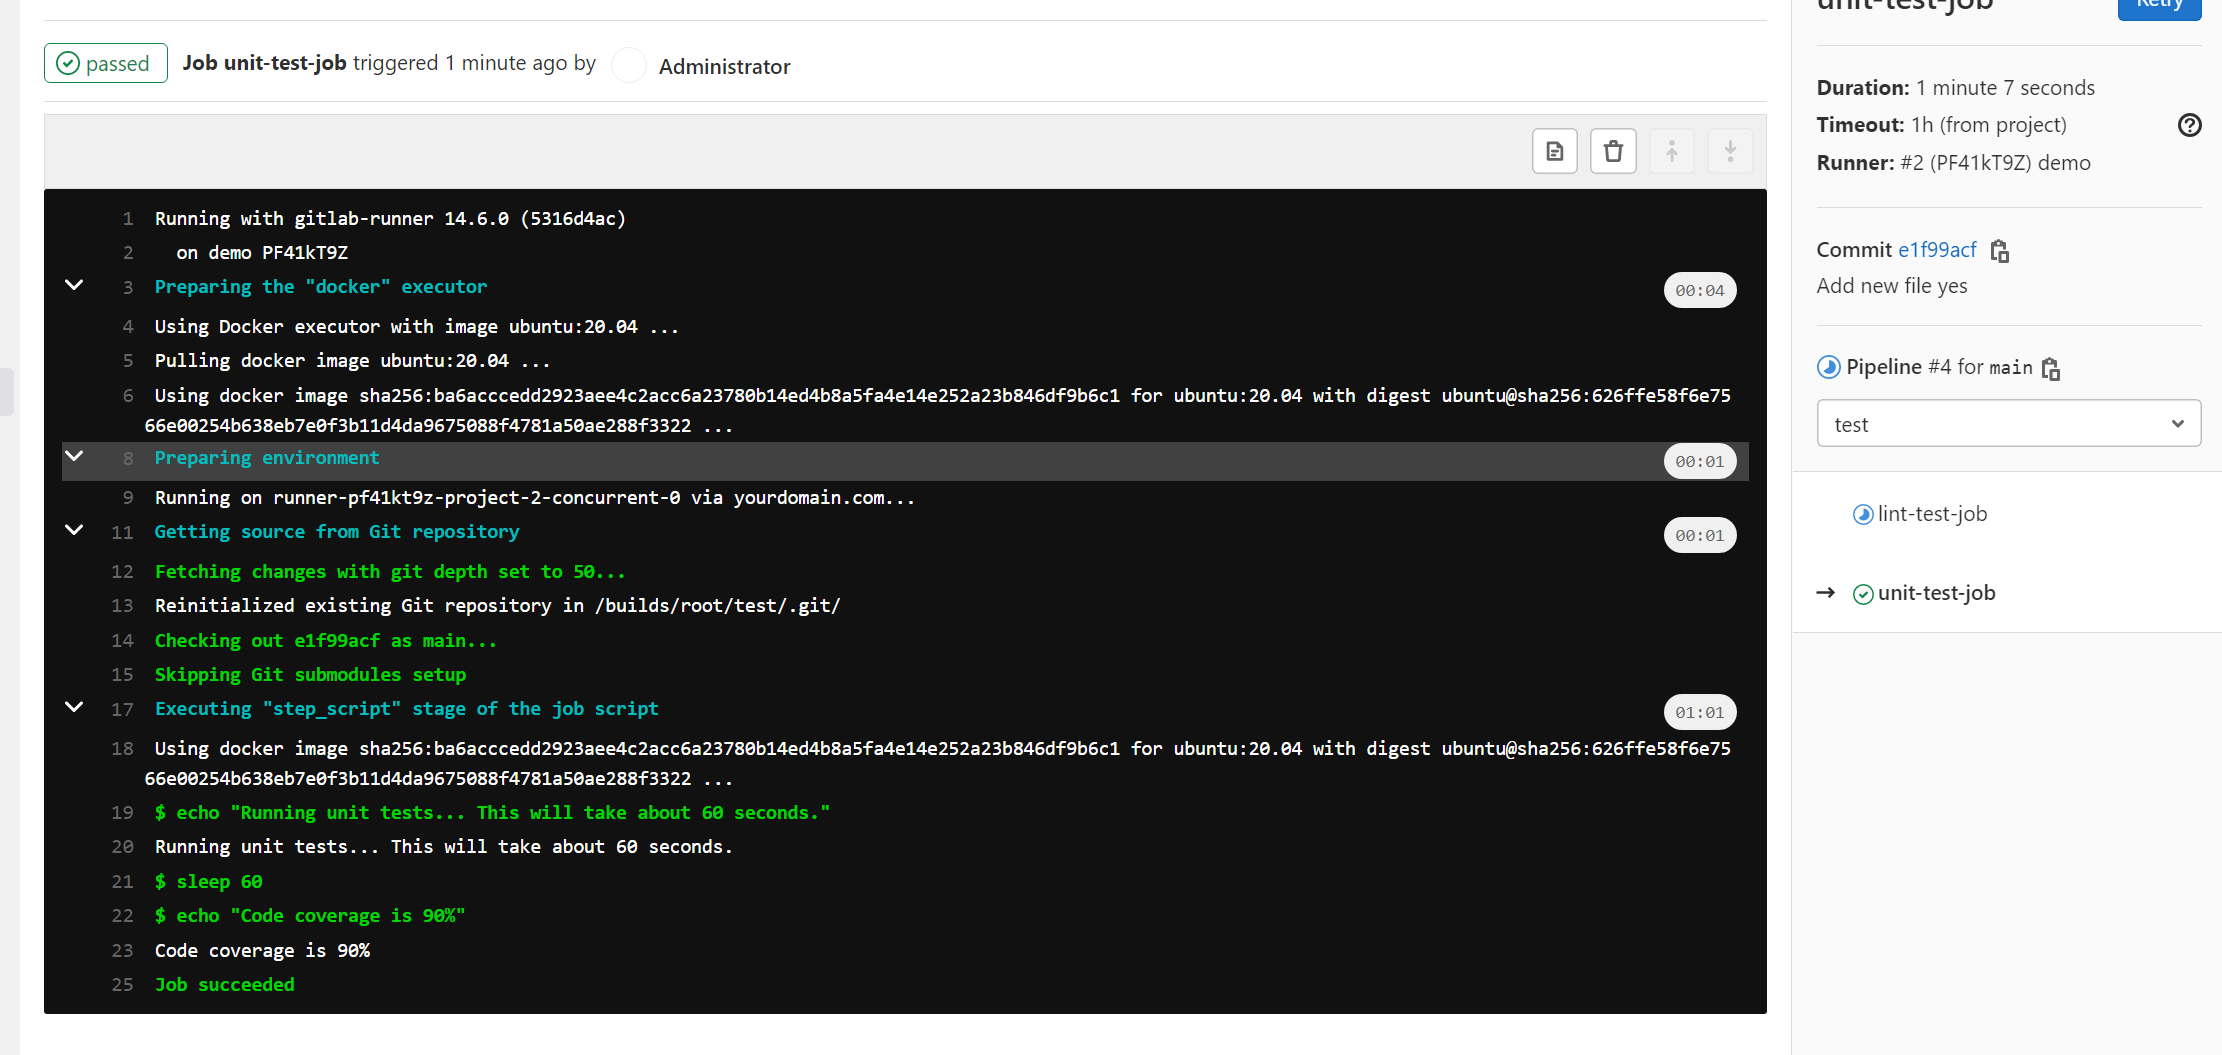 全部正常。
全部正常。
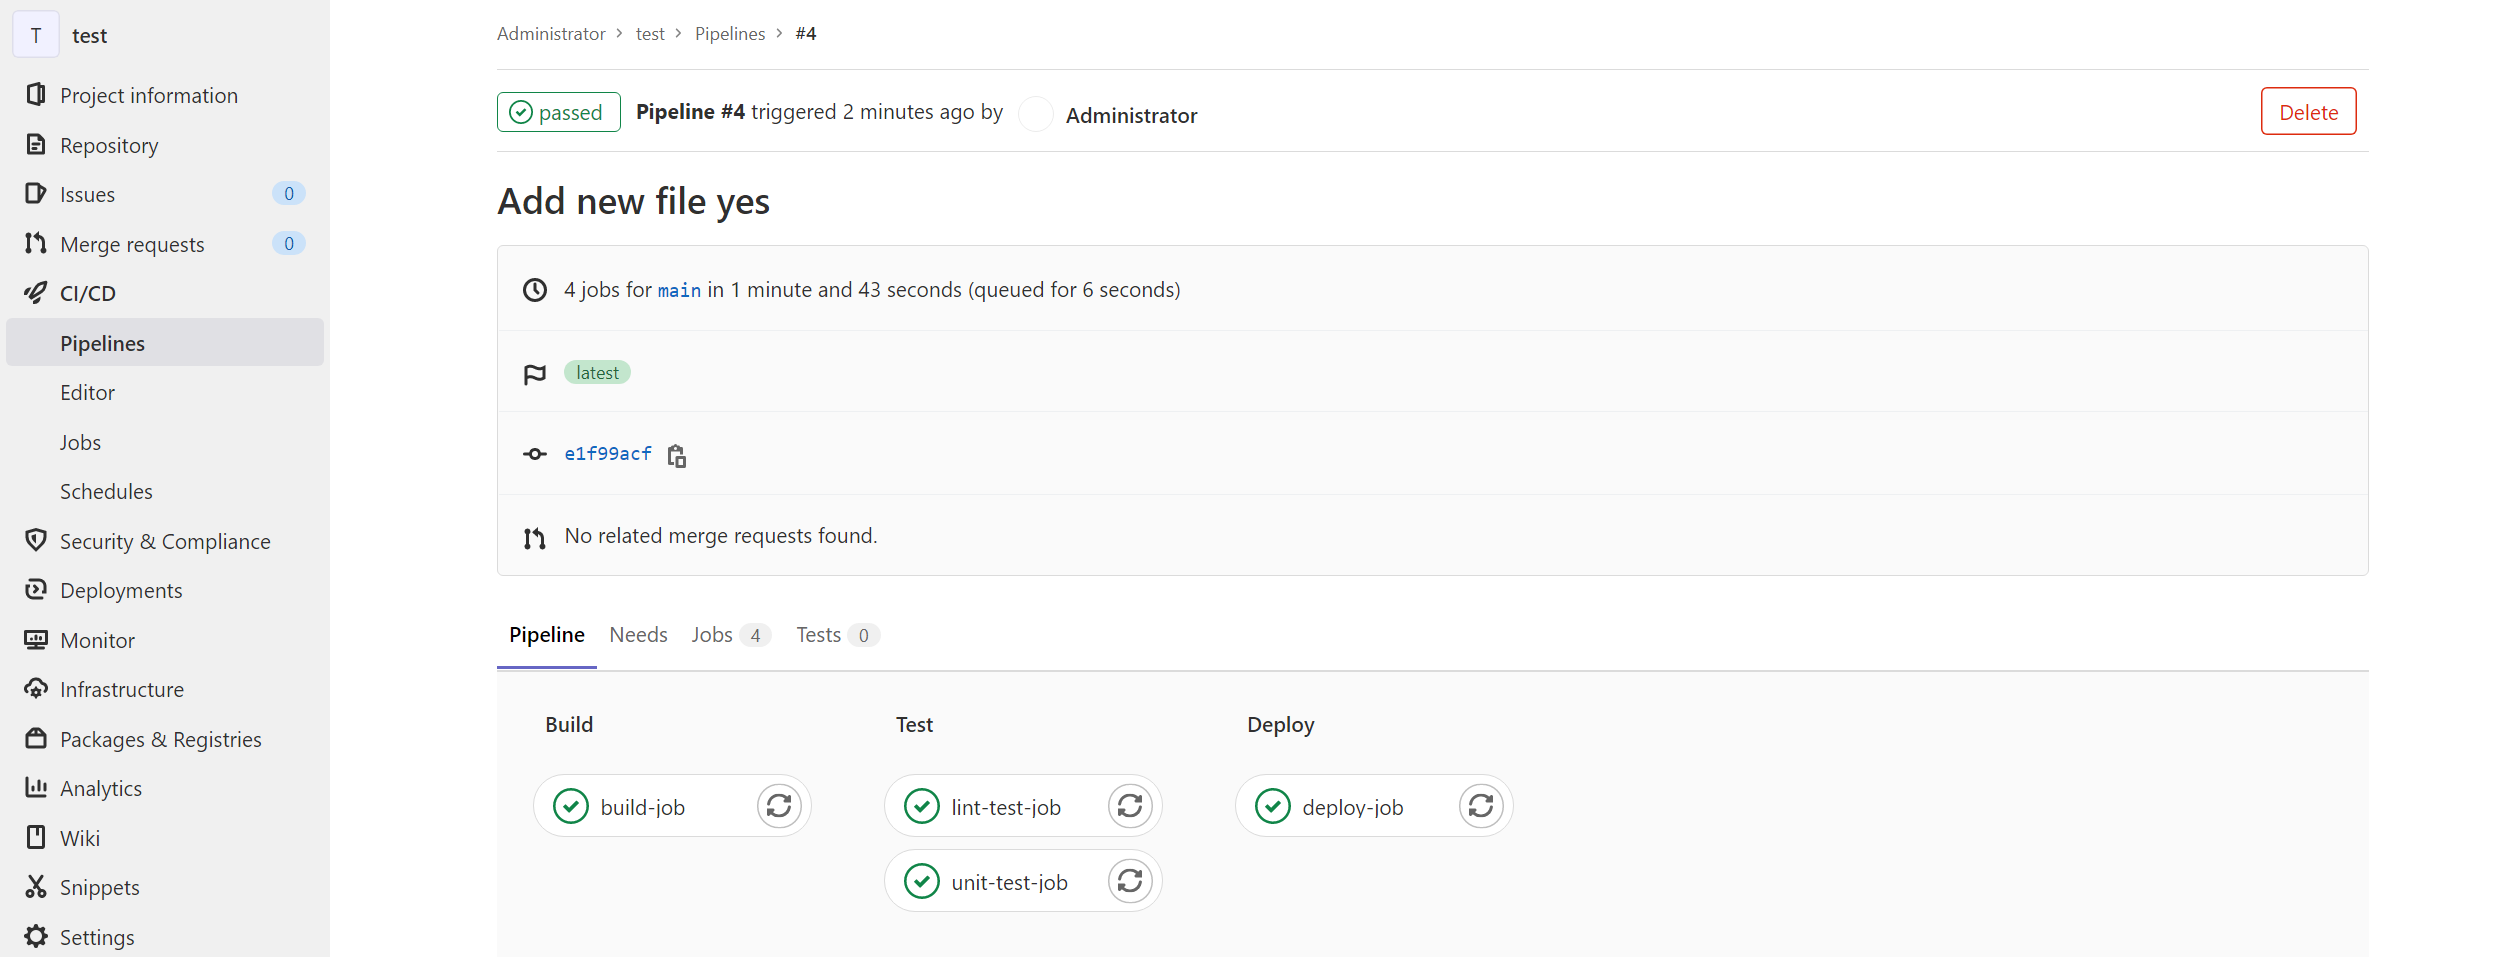
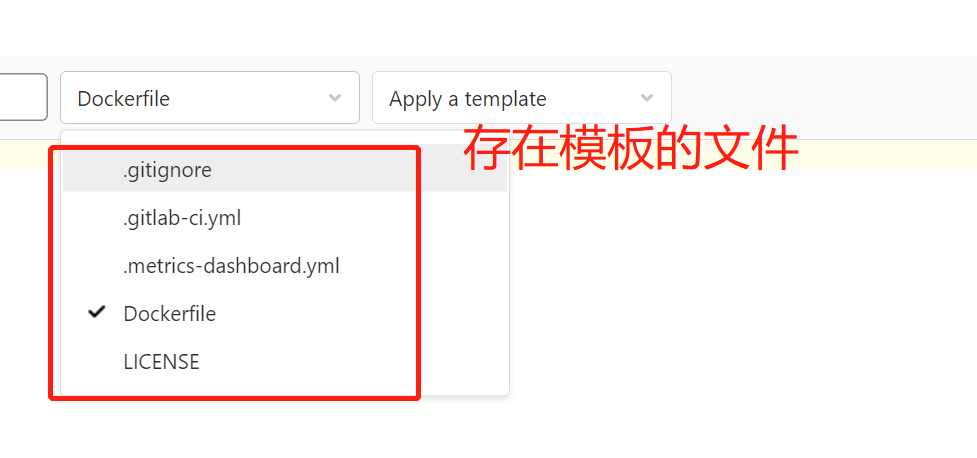
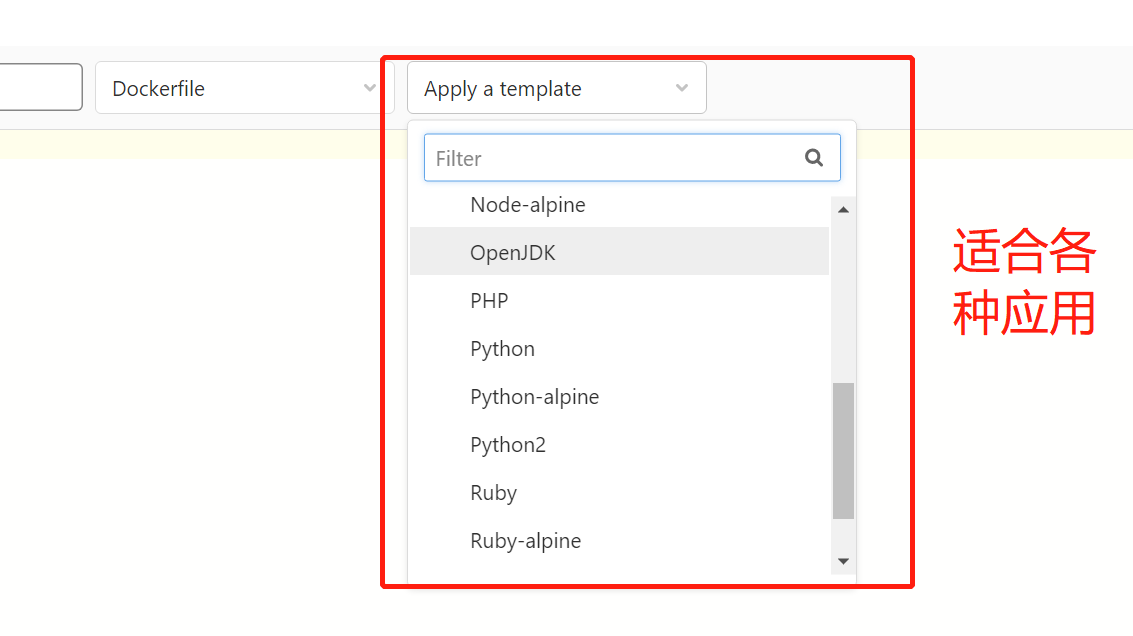 我们充分利用模板文件,可以为我们节省大量的时间。
2. python demo ci
2.1 推送项目至gitlab
记录模块清单
pip freeze > requestments.txt
git init
git add .
git commit -m "add a new python demo"
git remote add origin root@gitlab.example.com:8081/root/flask_web1.git
git push
2.2 安装gitlab-runner
docker run -d --name gitlab-runner --restart always --net=host \
     -v /srv/gitlab-runner/config:/etc/gitlab-runner \
     -v /var/run/docker.sock:/var/run/docker.sock \
     gitlab/gitlab-runner:latest
2.3 选择一个本地部署的需求
我们就要为该项目注册shell运行的执行器的runner
$ docker run --rm --net=host -it -v /srv/gitlab-runner/config:/etc/gitlab-runner gitlab/gitlab-runner:alpine-v14.4.2 register
Runtime platform                                    arch=amd64 os=linux pid=7 revision=50fc80a6 version=14.4.2
Running in system-mode.

Enter the GitLab instance URL (for example, https://gitlab.com/):
http://gitlab.example.com:8081
Enter the registration token:
8BxfhdBE2zf8NioR1UFE
Enter a description for the runner:
[yourdomain.com]: flask_demo
Enter tags for the runner (comma-separated):
python
Registering runner... succeeded                     runner=8BxfhdBE
Enter an executor: custom, parallels, docker+machine, kubernetes, docker, docker-ssh, shell, ssh, virtualbox, docker-ssh+machine:
shell
Runner registered successfully. Feel free to start it, but if it's running already the config should be automatically reloaded!
查看配置
$ cat /srv/gitlab-runner/config/config.toml
concurrent = 1
check_interval = 0

[session_server]
  session_timeout = 1800

[[runners]]
  name = "demo"
  url = "http://gitlab.example.com:8081/"
  token = "PF41kT9ZV_1DoT6VzcCu"
  executor = "docker"
  [runners.custom_build_dir]
  [runners.cache]
    [runners.cache.s3]
    [runners.cache.gcs]
    [runners.cache.azure]
  [runners.docker]
    tls_verify = false
    image = "ubuntu:20.04"
    dns = ["8.8.8.8", "1.1.1.1"]
    privileged = false
    disable_entrypoint_overwrite = false
    oom_kill_disable = false
    disable_cache = false
    volumes = ["/cache"]
    extra_hosts = ["gitlab.example.com:192.168.211.70"]
    shm_size = 0

..........

[[runners]]
  name = "flask_demo"
  url = "http://gitlab.example.com:8081"
  token = "tvCxfurs7EmRApH7un2a"
  executor = "shell"
  [runners.custom_build_dir]
  [runners.cache]
    [runners.cache.s3]
    [runners.cache.gcs]
    [runners.cache.azure]
为此项目注册runner,并不会影响其他项目的项目,因为配置是追加的。
选择一个最接近你的需求的、并修改量小的.gitlab-ci.yaml模板
 修改.gitlab-ci.yaml
我的本地环境是
修改.gitlab-ci.yaml
我的本地环境是ubuntu:8.04,本地可能没有flask,所以要在.gitlab-ci.yaml,装完就可以部署,两步走,即两个stage。
.gitlab-ci.yaml
stages:
  - dep          # List of stages for jobs, and their order of execution
  - deploy

dep-job:
  stage: dep
  script:
    - apt -y install python3-pip
    - pip3 install flask

deploy-job:      # This job runs in the deploy stage.
  stage: deploy  # It only runs when *both* jobs in the test stage complete successfully.
  script:
    - echo "Deploying python flask demo application..."
    - python3 app.py"
创建一个Dockerfile模板
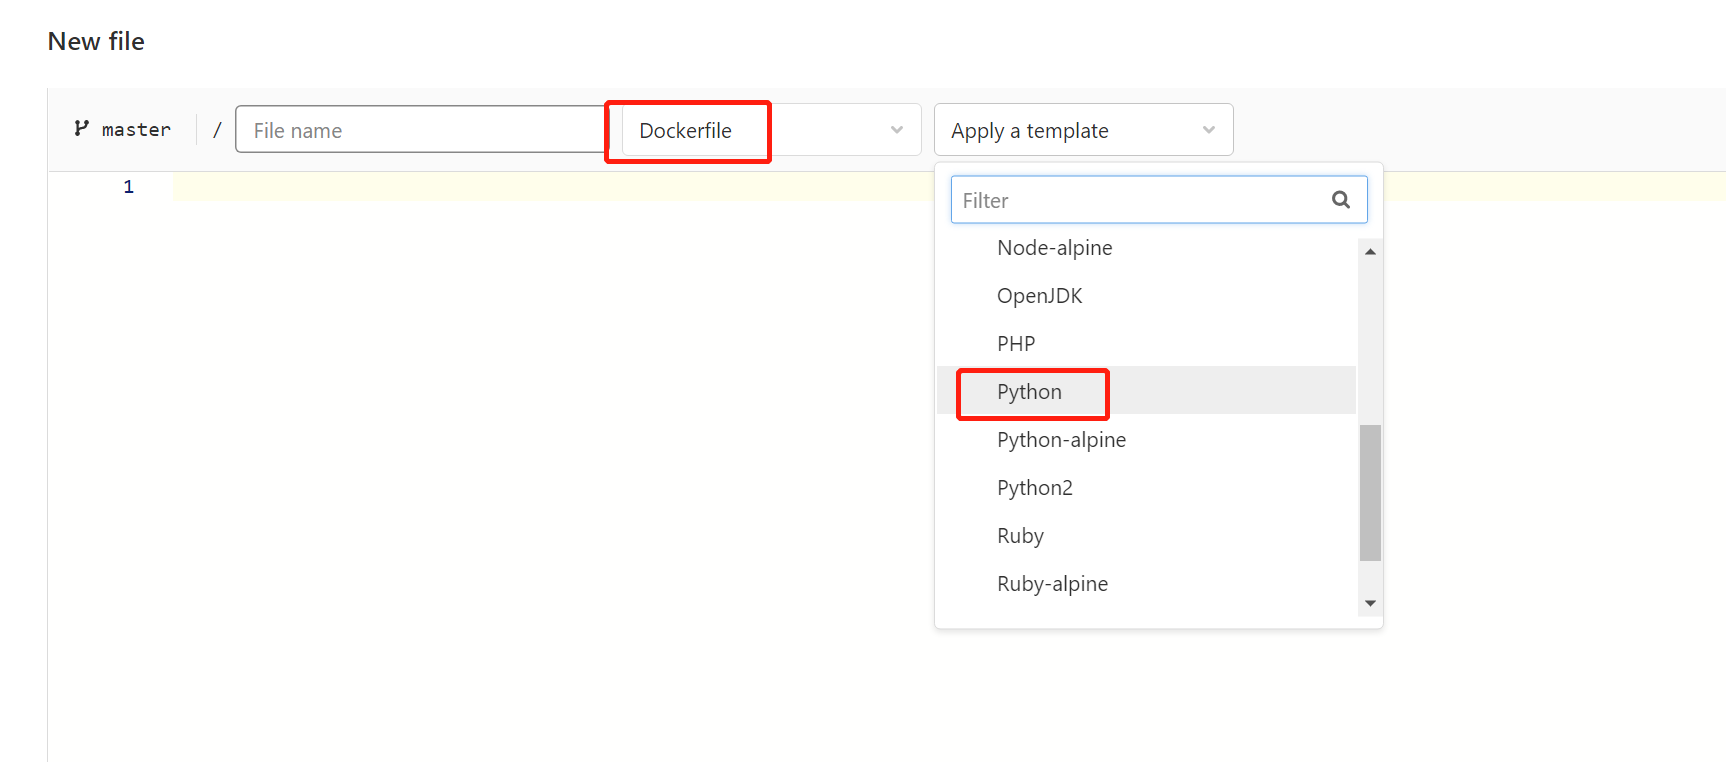
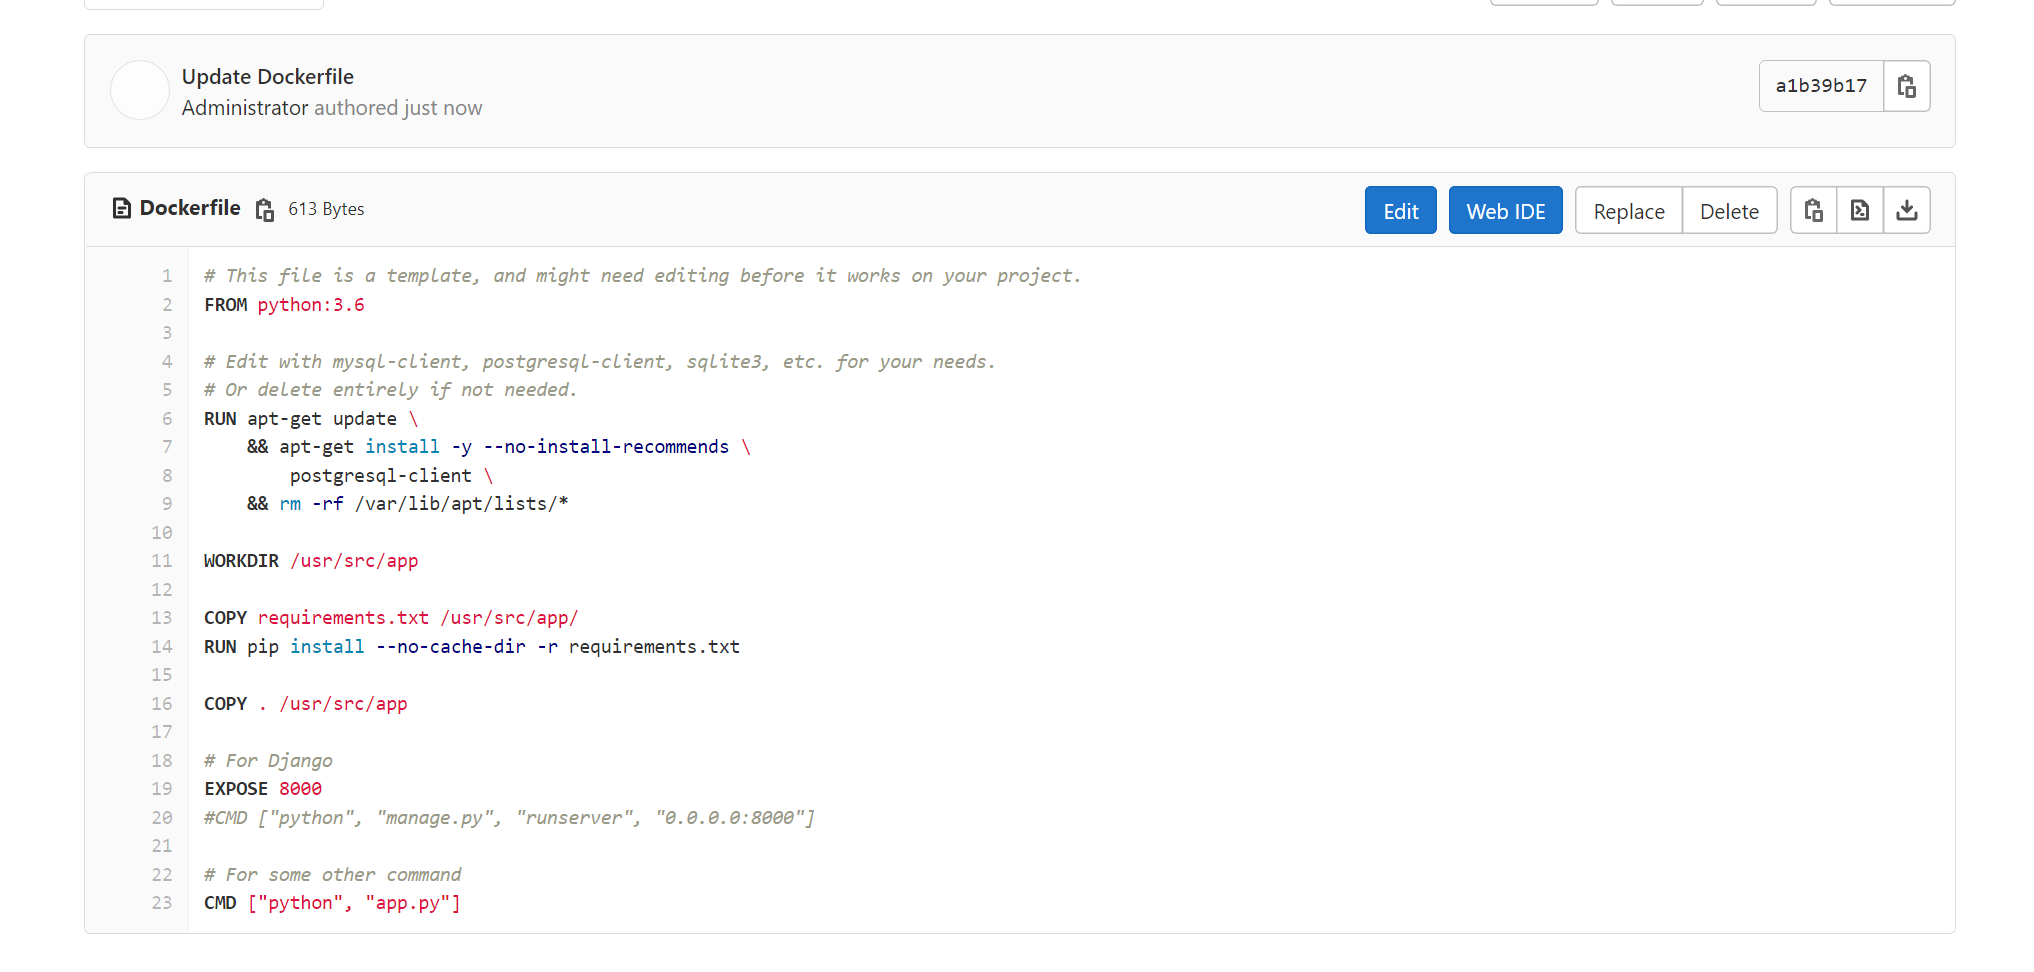
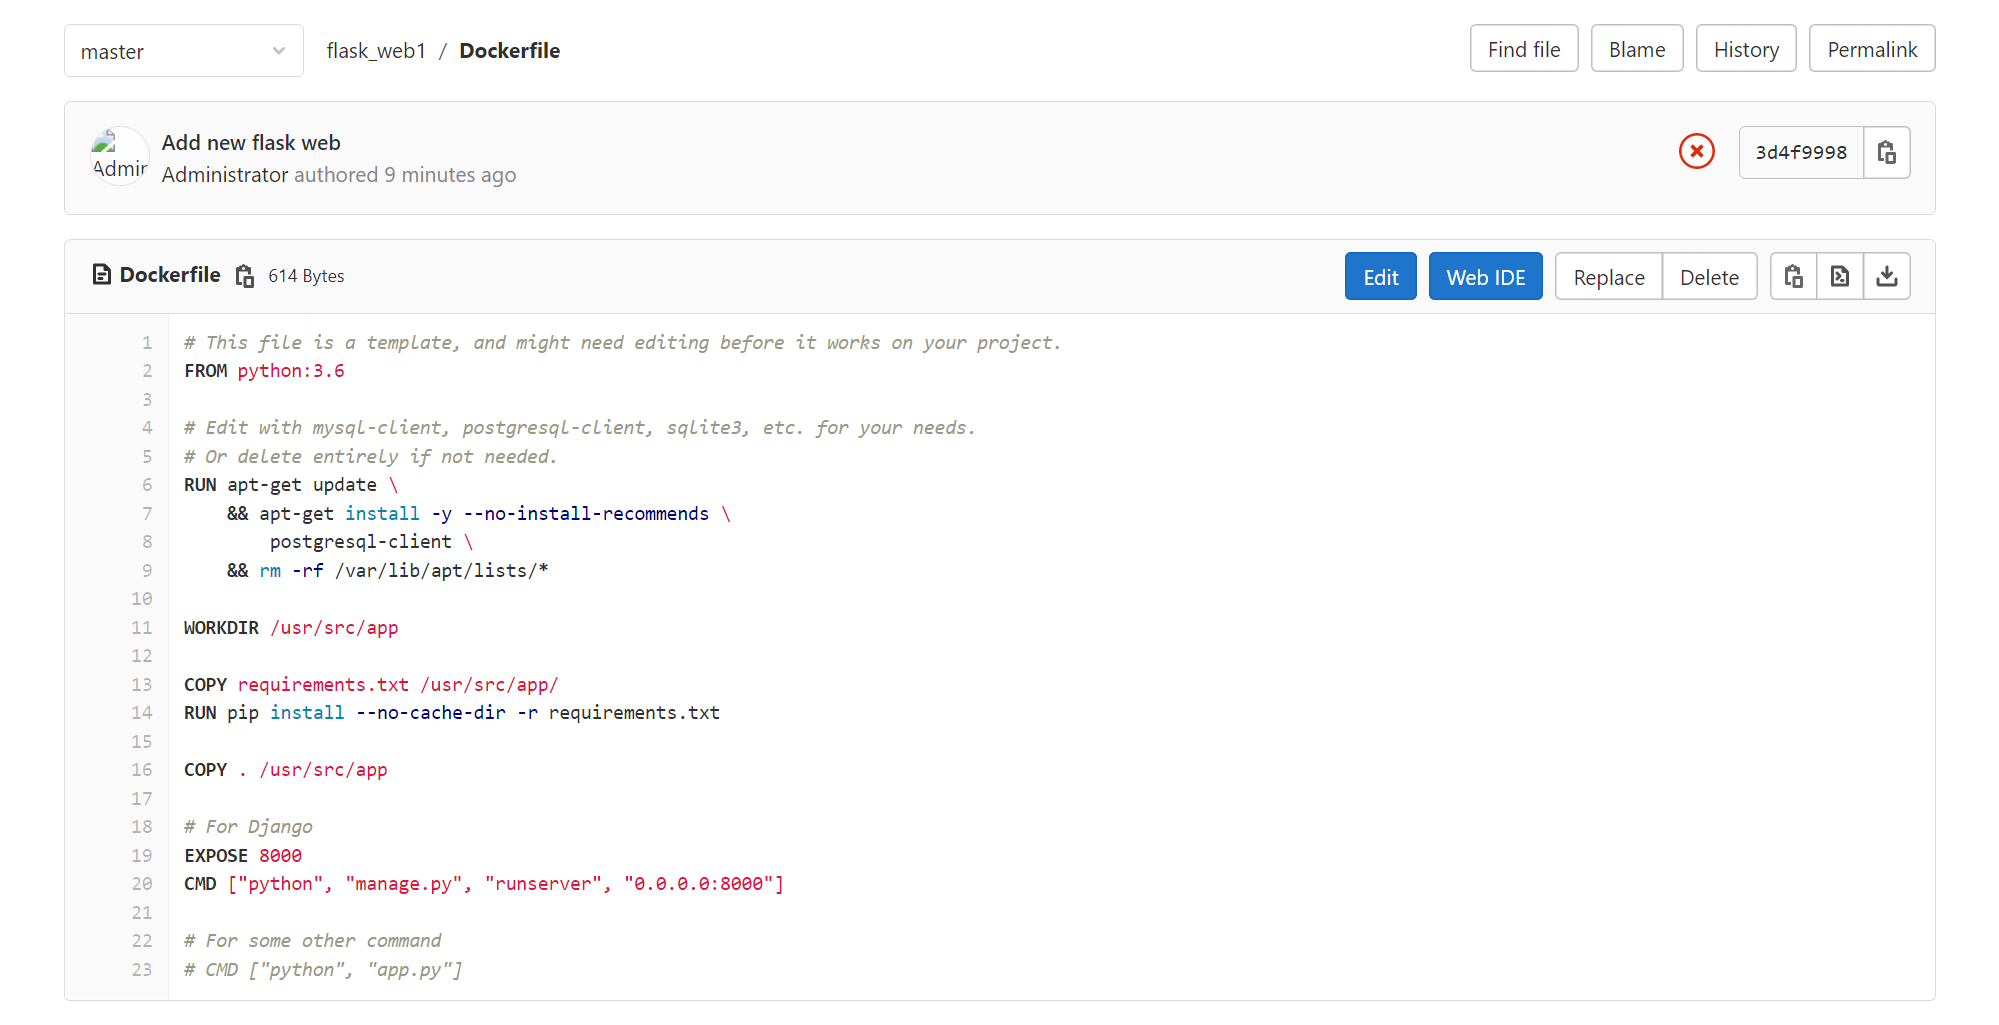 修改Dockerfile
更多阅读: